Description
As of 20-Feb-2022 all units with included harness connections will ship with standard size Micro-fit/3mm connections. If you would like the old high-current connectors that were used on previous units, please leave a note on your order. We have a few of these connectors left.
Why the change? Well, there are a few reasons. First, the high-current connectors are out of stock at all the suppliers. Second, the old connectors were often difficult to crimp properly with generic micro-fit hand crimp tools. Third, they were overkill, the standard connectors have ample current rating. Finally, by using the standard connectors we can provide pigtails. We did not provide these before because the standard and high-current connections did not fit well together, and the pigtails only come with the standard connections.
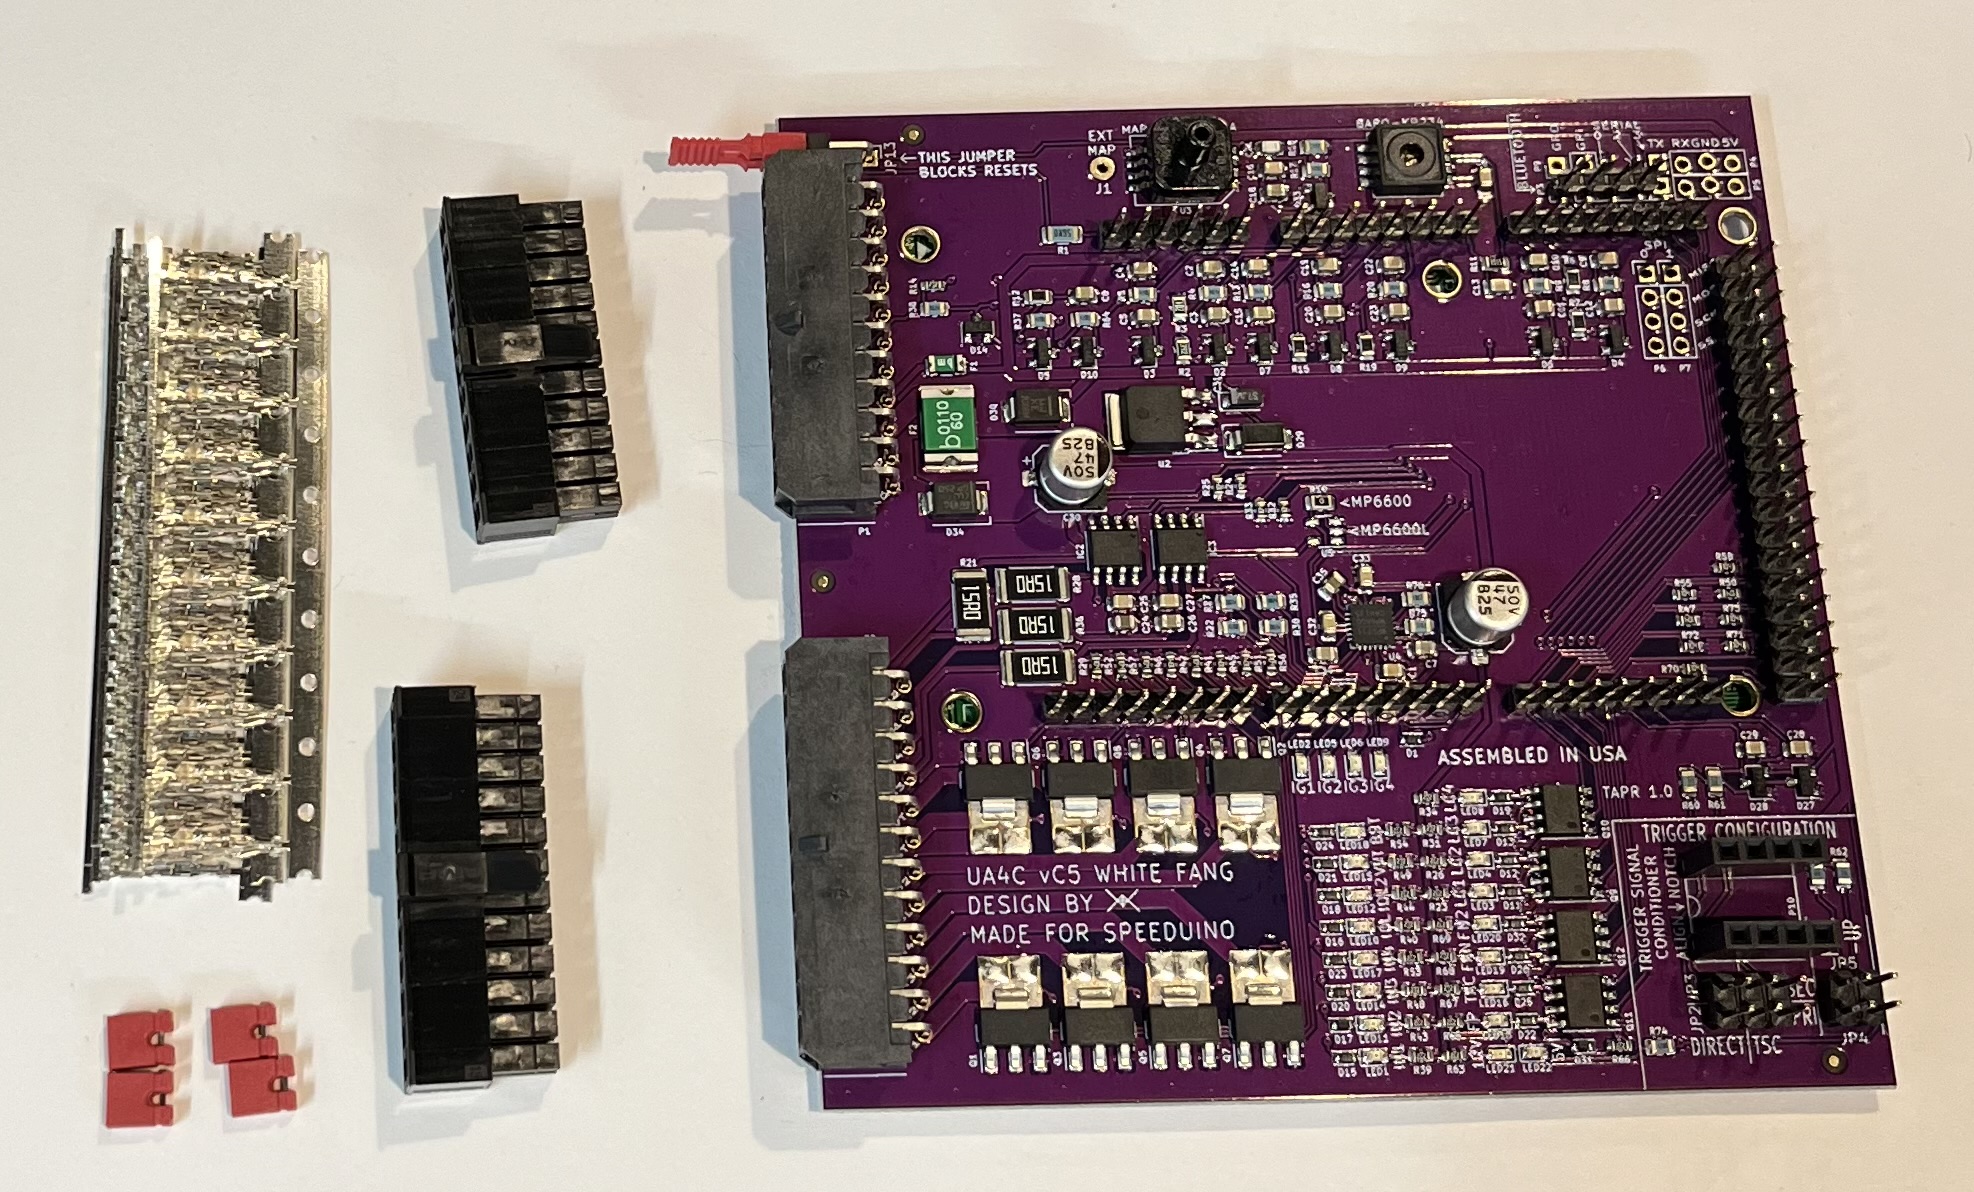
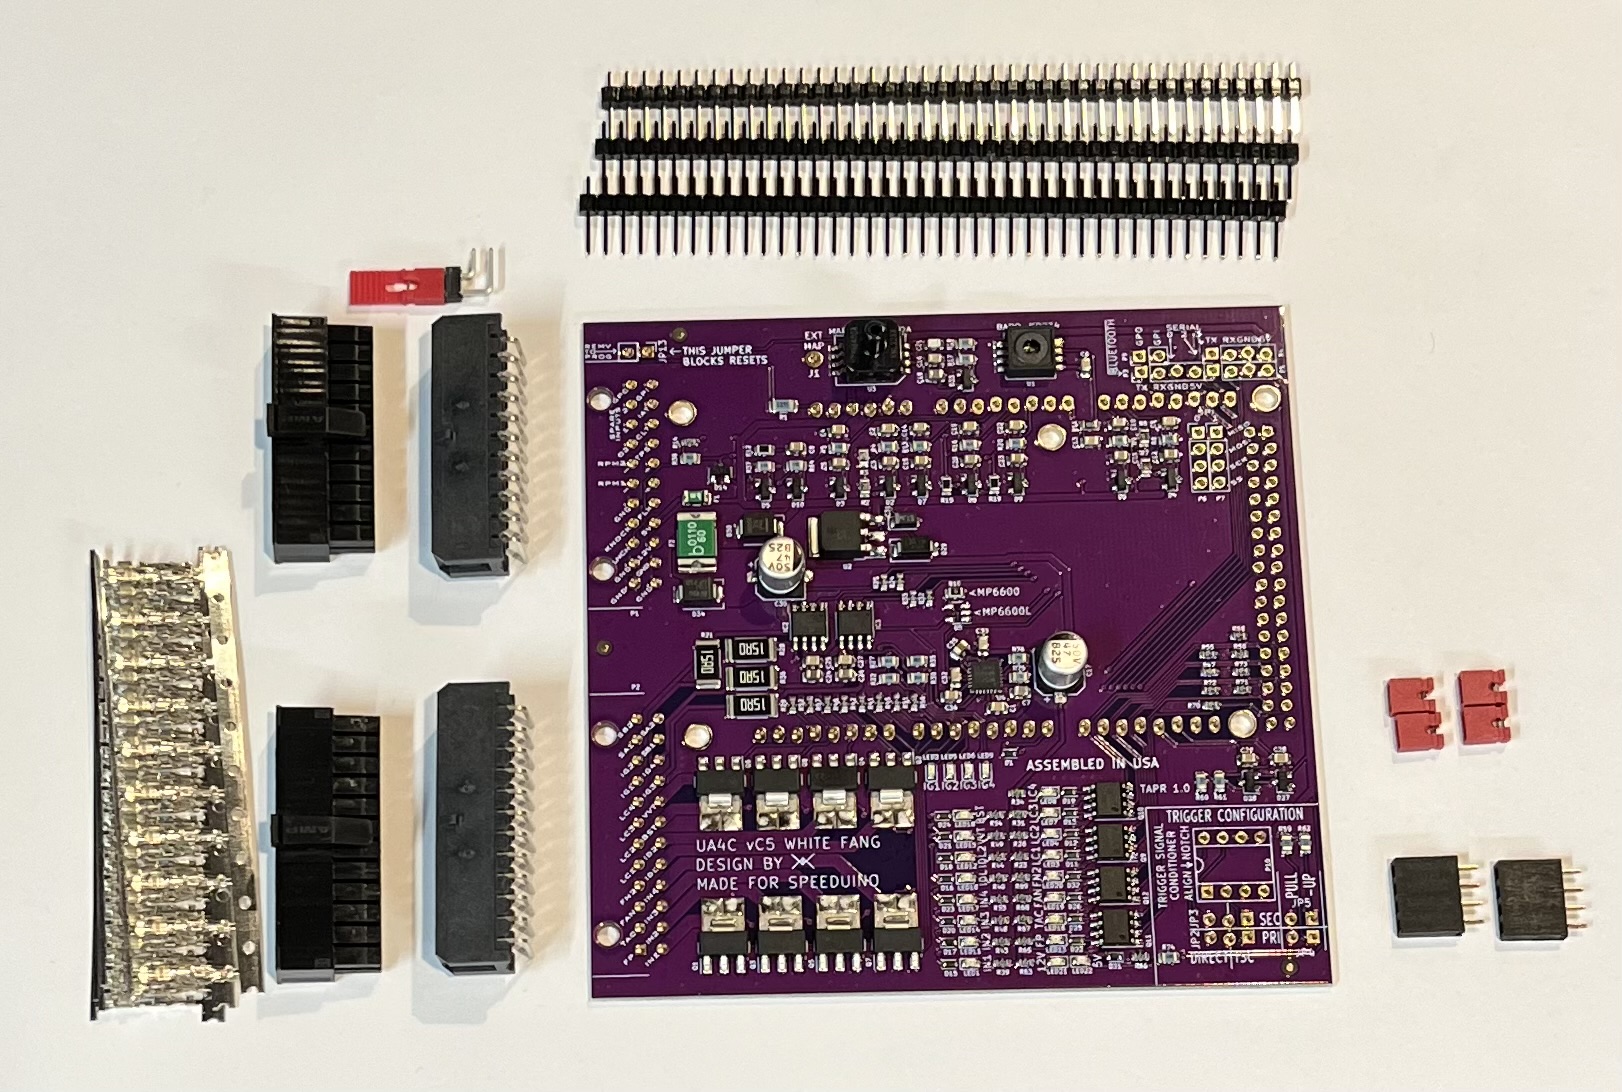
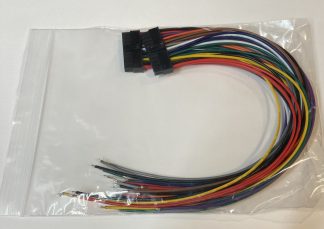
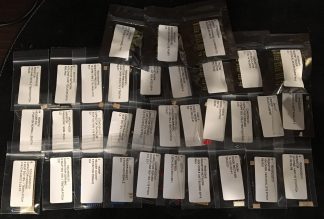
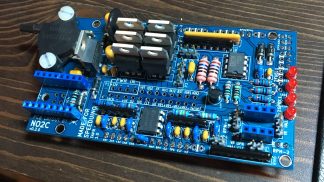
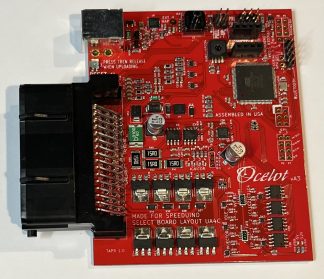
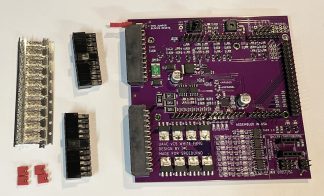
The UA4C uses SMD technology to make a 4 ignition/4 injection channel board smaller, with more features, and cheaper. It is a bottom mounted Arduino MEGA shield. The MEGA is placed upside down on top of it.* This makes the total package thickness less than 20mm. All of the outputs (except for stepper idle) include an LED for quick troubleshooting during setup. An externally accessible jumper blocks resetting of the system when a USB cable is connected. Wire housings and 50 (four extra) terminals are included to connect your wiring to the PCB. Will fit in the slim or standard height Hammond case. If you include soldering service the pins connectors will be soldered to the board. All SMD parts come solder no matter which option you choose. If you require special provisions you can leave a note on your order use the contact form on the help page.
Outputs
– 4 ignition channels, logic 5V, 330mA max pulse
– 4 injector channels, ground switching
– 4 high current outputs (idle, idle2, boost, vvt) ground switching
– 8 low current outputs (fuel pump, tachometer, fan, fan2, aux1-4) ground switching
– Stepper idle control (any version starting with C includes stepper control chip built in)
Inputs
– 2 triggers (crank, cam, etc, logic level with socket for conditioner modules)
– MAP 400kPa and separate barometer onboard
– Voltage correction
– Throttle position
– Coolant and incoming air temperature
– Oxygen
– Flex fuel (interrupt pin)
– Launch
– Knock (future code update) (interrupt pin)
– 2 spare inputs
Version vC5 White Fang changes include:
-Labeling improvements
-Still assembled in the USA 🙂
Version vC4 White Fang changes include:
-Changes for semiconductor shortages including:
-Swapping MOSFET and vReg footprints
-Option to use two models of stepper control IC
-Still assembled in the USA 🙂
Version vC3 White Fang changes include:
-Minor component/placement adjustments
-Further increased voltage spike tolerance and reverse polarity protection
-Still assembled in the USA 🙂
Version vC2 White Fang changes include:
-Integrated stepper idle controller
-Minor component/placement adjustments
-More labeling
-Easier use of external MAP sensor
-Through-holes adjusted for easier soldering of header pins
-Critical solder jumpers now have a default setting (12v tacho, standalone, internal MAP)
-Increased voltage spike tolerance
-Still assembled in the USA 🙂
Version vB3 Sea Fox changes include:
-All boards now ship with 400kPa MAP sensors for no limit boosting 🙂
-Minor component/placement adjustments
-Further improved labeling
-Assembled in the USA
Version vB2 Sea Fox changes include:
-All SMD components including the sensors are now soldered on from the factory
-5 volt output is protected from overload
-Corrected parallel install issue
-Harness connector footprint improved to better hold the connector while soldering
-Further improved labeling
-Assembled in the USA
A new version of the UA4C (vB1 Sea Fox) is available
Changes include:
– Rearranging the serial headers for better fitment in the slim case
– Upgrading the low current outputs, they now support larger loads and are self-protecting
– Changed tachometer circuit to allow 5V, 12V, and high voltage tachometers
– Added indicator LED for 5V power, and improved labeling
Communications
– Serial3 routed to external connector (optional CAN with extra controller)
– Bluetooth header with blocking diode to allow use of USB
Extra Stuff
NOTICE: This is an unofficial Speeduino board. Josh Stewart was very kind in adding a definition for this board to the Speeduino code. However, purchases of this board do not directly contribute to his upkeep and updates to the Speeduino software and website. PLEASE consider visiting Speeduino Forum and clicking Support Speeduino at the top.
*In order for the MEGA to fit the unused power jack must be removed. To do this use a pair of side cutters and cut the metal strap on the jack closest to the outside edge of the Arduino board. Then use a pair of slip-joint pliers to twist the jack back and forth while pulling it away from the PCB. It should come off fairly easily, but please take care when doing so. We will assume no responsibility for Arduino, bodily, or other harm. If you order an Arduino MEGA from us this will be done already.
Tools
NOTE: These are for the retired connectors, for the new connectors use something designed for Micro-Fit.
These are the part numbers of official harness tools. While not eBay cheap, they are not as costly as you might think.
EDIT: PRICE OF THESE TOOLS HAS GONE UP SUBSTANTIALLY. 🙁
Hand Crimp: 10129483-001LF
Terminal Extractor: 10129274-030LF
Awesome User Created Stuff
Cool 3D printed case: https://www.thingiverse.com/thing:4574403
Errata
vA3- No known.
vB1- The solder jumper on the bottom for parallel installation does not work as intended. Please contact me for additional steps if you wish to install in parallel with another ECU.


danz –
is this a standalone ecu? im planning to use it with the toyota 4e-fte engine that uses a crank signal from the distributor. Do i need a Vr conditioner?
Weaver –
Yes all Speeduino products are designed to be standalone engine management. I do not know about your particular Toyota, but most do use VR type sensors. I would suggest that you look at the Speeduino manual/wiki and also the Speeduino forum. Links to both are on our help page. wtmtronics.com/help
danz –
is this a standalone ecu? im planning to use it with the toyota 4e-fte engine that uses a crank signal from the distributor. Do i need a Vr conditioner?
danz –
hello is this product assembled and soldered?
Weaver –
All surface mount parts are soldered. If you would like the through-hole pins and connections soldered, then choose that option when adding to the cart.
pipo –
Hello, is it possible to manage with a motorcycle with 14 000 rpm max?
Weaver –
It depends on the trigger wheel. One with 60 teeth will probably be too high a frequency, but 24 or 36 should work.
Allen Penner (verified owner) –
Board is great but be aware DO NOT USE THE PIN NUMBERS ON THE CONNECTORS they do not match the documented pin numbers, don’t make the same mistake I did and fry a board this way. Use this https://github.com/turboedge/SpeedyBoards/blob/master/UA4C/DOC/Connections.pdf
Kemar –
This can be used on a Nissan SR20 with its optical sensor or 360 for trigger?
Logan Keely –
good quality board with great layout, both pins and connector headers stay in place by design, extremely easy to solder due to high quality gold contacts options are left open for future code availability. Easy 1 hour assembly for an experienced tinkerer.
Adolfo García (verified owner) –
Hi
This board has two spare inputs, those can be used for fuel or oil pressure?
Using an analog sensor 0.5 @ 4.5 volts linear.
Tks.
Weaver –
Yes you can!
Robert –
Will it fit to NA miata 1.6 91r? If yes I’m looking forward for restock 🙂
Weaver –
Yes, you could use it for a 1.6 Miata.
Thanks
Cameron Thomas (verified owner) –
Still a 10/10 board after a year. Dont know what size pins it shipped with though and lost them. want to add stuff.
Weaver –
Cameron, I checked your order. If you are referring to the harness pins, then you would want the old type.
Weaver
MASANORI SATO (verified owner) –
I am looking to install this ECU in parallel with a stock ECU on an rx7 s5.
I want to use the existing IAT and CLT, do I need to install a resistor in JP14?
How should it be wired? And what is the value of that resistor?
Weaver –
If the OEM ECU is to remain connected you will need to cut the UA4C’s factory bridges of JP14, as written on the bottom of the PCB.
Matthijs (verified owner) –
Amazing product. Using it for approximately one year now. very happy with it. Compact in size and with many features.
Cameron Thomas (verified owner) –
really nice board, there is a few things I haven’t found the answer to yet. Is the LNCH pin for launch control? I just wouldn’t think it would be for that. also besides taking it off and checking, is there a way to know if you need a VR Conditioner? I have an ej20 engine from a Subaru
Weaver –
Thanks, yes launch is abbreviated LNCH. Subaru like that will need a VR, I would recommend the MAX.
Vincent Lau –
Is this a piggyback board that connect to the Speeduino 4.4 ? I am looking to power my 6 cyl mercedes using VR sensor with 36 teeth trigger wheel and 1 coil or 1 CDI, thanks.
Weaver –
No this is a board designed to work similarly to the 0.4, with a different wiring setup and some built in features. You can use it for a Mercedes with a 36-1 crank trigger. If you are using a crank trigger you might want to switch to individual coils or a coil pack though.
Rodrigo Araya –
If I buy UA4C with map y connectors I need something else to work with honda engine D16 vtec + Turbo
Weaver –
Hi, You will need an Arduino Mega. If I’m not mistaken the Hondas need a VR conditioner. Dwight, a Honda guy, usually recommends a MAX based conditioner.
cagan –
Hello, I want to buy this for my ca18det. Is it possible to use this with my engine ?
What else do I need for speeduino setup ? Does this has Wideband in it ?
-Thanks
Weaver –
Hi Cagan,
I did a quick search on the forum and it looks like someone has been here before.
https://speeduino.com/forum/search.php?keywords=ca18det&terms=all&author=&sc=1&sf=all&sr=posts&sk=t&sd=d&st=0&ch=300&t=0&submit=Search
It’ll probably have a variation of the nissan 360 trigger wheel, I’d suggest changing that. It’s a 4 cylinder so even a 2-channel board can be used. A wideband is not included, but can be attached.
Thanks! Weaver
Jimmy vance. (verified owner) –
Excelente ECU. Fácil de instalar, buenas prestaciones tanto para proyectos complejos como para autos de uso diario.
Haré mi próximo pedido.
100% satisfecho.
Excelente atención de WEAVER.
Weaver –
Thank you very much Jimmy!!
takenotakeo –
When using for ca18det
What should I buy?
o2 buys wide burn at the same time.
Crank angle sensor is Nissan 360
Injector is low voltage
Audi’s plug-in coil will be used for the world coil
Weaver –
Whichever board you like. I would suggest a 0.4 or UA4C. Audi coils are good. You will need to swap the disc in your trigger, the 360 does not work well. Do you mean low-impedance injectors? If so you will need resistors for them if the car does not already have a separate resistor pack. I only have the Tiny WB wideband right now, which has to be soldered on. Normally I would suggest a Spartan 2, but I cannot get them right now. Otherwise I would recommend AEM UEGO which is not something I carry.
Mohamad zamri –
how to register account
Weaver –
Sorry, accounts can only be created if an order is placed. This is to prevent bots and scammers from creating accounts.
Thank you, Weaver
Kritsada Khaokrue (verified owner) –
i kidda need additional steps because I wish to install in parallel with another ECU.
2008 Volkswagen GTI
Weaver –
You will need to either not add solder to JP14 or on on vCx and higher cut the bridges on JP14 as they are jumped by default. Some OEM ECU vary the coolant bias as the engine warms to increase resolution in the operating range, if yours does this then you will likely have to install separate sensors or find a way to tune around it.
Also if trigger signal is hall (direct digital) do not use pull-ups, if it is VR then make sure to use a MAX conditioner others will affect the signal too much.
Thanks, Weaver
Erwin –
In my opinion the best speeduino HW available at beginning of 2021.
Only the connectors makes me not so happy….
Wish it would be compatible to Cinch Modice case to get a real connector and even an Antenna for the wifi module I added ….
Might be dreams come true with the Teensy verison :-).
Thank You very much
Weaver –
So glad you like it!
Garcia Wallace (verified owner) –
Thanks Weaver ,
Got my new UA4C to upgrade b1 last week,
Assembled and working great.
Shipping was very fast & great price I love this new b3 board the marking on it makes it so much easier to follow.
Am kinda mad because I wanted to order more map line barb for the front and DSC . I forget to ,only when the board arrived I realized I didn’t add them. Lol
Thank you.
wmarkel –
I’m very glad to hear it! I know the feeling, I’m always forgetting some little thing when I order. 🙁
Thanks! Weaver
Victor Rodriguez (verified owner) –
So far an excellent board, easy to put together and quality is awesome. I did have some trouble getting the correct trigger but that was on me. Hands down to the best board available and awesome price.
wmarkel –
You’re too kind. Thank you, glad to hear it.
Haikal (verified owner) –
when cranking the injector led not flashing.. can somebody tell me how to fix it?
wmarkel –
Hi Haikal,
Sorry you are having trouble. There is no simple answer. A number of things must be correct to have it work. I will contact you directly.
-Weaver
Jose –
At the moment the board seems to not function properly. Connected everything according to the diagram and pinouts but when I connect the board to tuner studio the map sensor becomes the tps (when I move the throttle the map readout changes). Also the map output does not seem to be represented in the sensor screen. Is there something I’m missing. Or maybe I need to open the Arduino config file to change the pins…
wmarkel –
Hi Jose,
This is a classic symptom of not having the correct board type selected in Tuner Studio. Please go to Engine Constraints and check/correct your board type setting.
Thanks, Weaver
Ryan S. (verified owner) –
Great Speeduino compatible board. I’m using it for a 1980 CB750 fuel injection swap and it has all I need to run full sequential injection. I do wish the board had a few extra inputs though, I’d like to run a few more sensors for logging. More than enough outputs for a motorcycle. Only issue I really have had was getting a vacuum line connected to the MAP inside the slim case from Hammond, I had to drill a hole through the top. The hose couldn’t make the sharp turn inside the case. Wish it was 90 degree/parallel to the board and more of a hose barb style sensor.
Blake Tchida (verified owner) –
Just purchased my second UA4C because the first project went so well and runs amazingly. Best speeduino based ecu out there with all the great features of a good standalone (4 ignition and injector channels, fuel pump and rad fan control, variable valve timing control, FLEX INPUT for E85, and much more!!!
Thank you for providing such a great product at an incredible price for the performance!! Will definitely purchase another one as soon as I find a good excuse for another speeduino project lol
yingste –
Great product, been running in my car for several months now. Slimmer and cheaper than the .4 and also includes a baro sensor. Almost definitely buying one again for the next project. Just wish you guys sold a premade loom/connectors with 8ft of wire since I’m bad at making nicely crimped connectors.
wmarkel –
Thanks so much. Sorry no harnesses here, but the nice guys over at SpeedyEFI do make them up.
SMA Save Money Auto ltd (verified owner) –
Hi how are you,
We purchase a UA4C board and cannot find no wiring diagram on Speeduino Wiki to support it can you kindly provide us with information on the wiring diagram we have a this is our second request thanks for your favorable response.
wmarkel –
Hello,
As I have told you before, sorry if you do not receive my emails, there are no wiring diagrams specific to the UA4C. The Speeduino wiki and forum are full of diagrams on how to properly connect injectors, coils, sensors, etc to virtually any ECU. Descriptions of every pin on the UA4C including the circuit schematics can be found here: https://github.com/turboedge/SpeedyBoards/tree/master/UA4C
Thank you, Weaver
DCwerx –
Without a doubt the best speeduino PCB to date. Super high quality and loaded with inputs and outputs.